Before starting this tutorial please make sure to read all instructions.
You should have a basic understanding of making cold process soap before you begin this tutorial. If you are new to cold process soap making, Click Here for our beginner soap making tutorial.
It is always a good practice to put any new recipe through a soap calculator like http://soapcalc.net/calc/SoapCalcWP.asp.
Please note, this fragrance causes a slight discoloration. If you would like a whiter soap add 1 tsp Titanium Dioxide Per Pound of Oils to your batter. (1.5 – 1.75 tsp) Just remember Titanium Dioxide must be dispersed ahead of time because it is notorious for leaving specks if it is not mixed properly
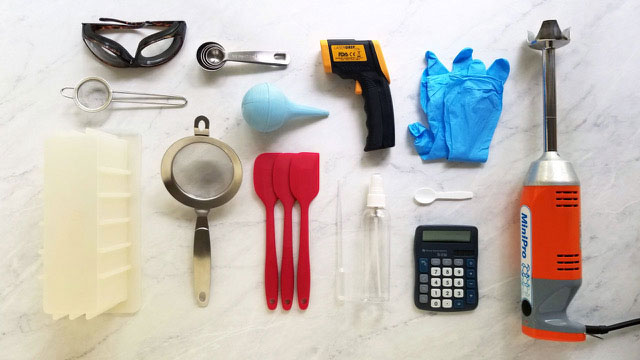
Step 1 - Gear up for Safety
Put on your long sleeves, long pants, shoes, safety goggles, and gloves. Work in a well-ventilated area that is free from distractions.
If at any time your skin comes in contact with lye or lye/water, flush with water for at least 15 minutes and seek medical help if necessary.
Step 2 - Prepare Ingredients
Before you begin, record the weight of your large mixing bowl, because you will need it later.
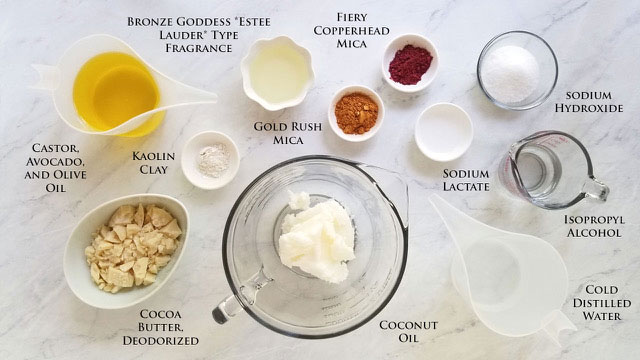
It’s time to measure ingredients. You can refer to the ingredients photo above and the tips below:
Measure Castor, Avocado, and Olive Oil into a funnel pitcher.
Measure Coconut Oil into the large mixing bowl.
Measure the cold Distilled Water into a funnel pitcher or other similar sturdy plastic pitcher.
Measure the remaining ingredients individually, measuring the sodium hydroxide last for safety reasons.
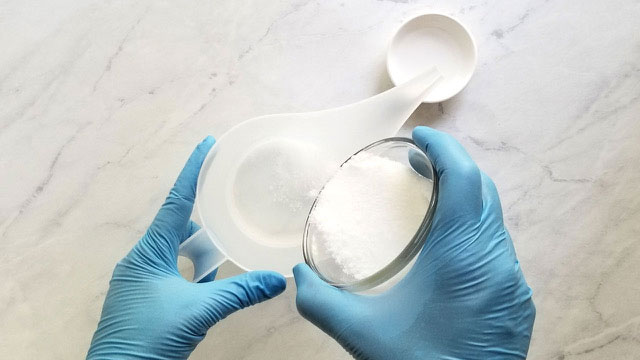
Step 3 - Make Lye Solution
Slowly add the Sodium Hydroxide to the cold Distilled Water. Stir gently to avoid splashing. Make sure to avoid breathing any fumes. Stir until mixture is dissolved. (Please note that when Lye is added to Water it will heat up very quickly. For this reason, never use a glass container for mixing your Lye and Water, and always add Lye to Water and not the other way around because of the potential Lye volcano. Just remember, “Snow falls on the lake.”)
Set it aside in a safe place that is well ventilated to cool. Also set the Sodium Lactate aside near the Lye Solution.
Step 4 - Prepare Oil and Lye Solution
Melt the Coconut Oil in 30-second bursts. Stir in between bursts and continue until Coconut Oil is completely melted.
Add Cocoa Butter to the melted Coconut Oil. Stir to melt. If Cocoa Butter doesn’t melt completely, microwave in 30-second bursts. Stir in between bursts until just barely melted.
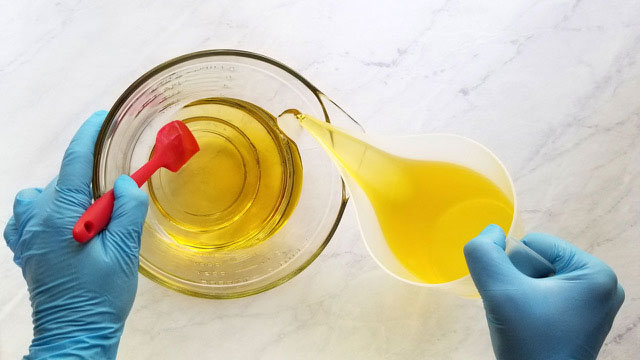
Add the Castor, Avocado, and Olive Oil mixture to the melted Coconut Oil /Cocoa Butter. Pour down the side of the container or a spatula to avoid introducing bubbles to the mixture. Stir until completely clear.
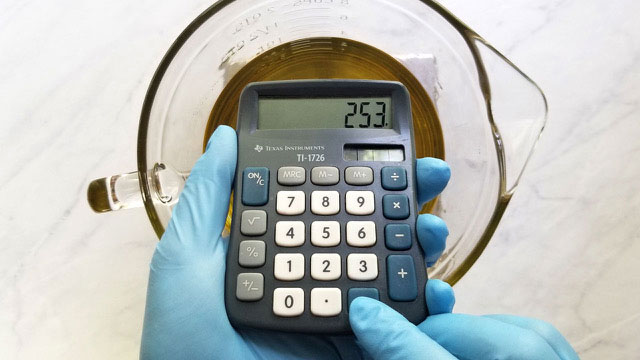
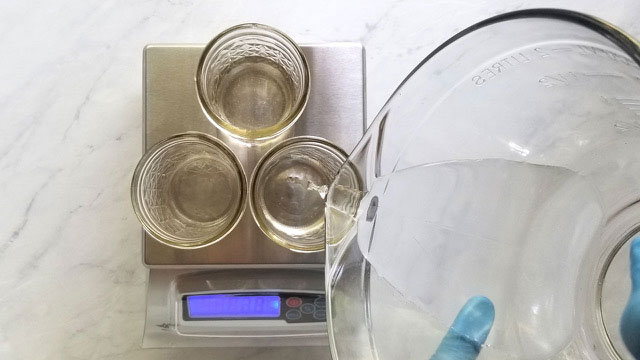
Weigh the bowl with its contents. Subtract the weight of the bowl that you recorded earlier. Next, divide the resulting number by three. Record this number. Example: 2,339 g – 1,580 g = 759 g / 3 = 253 g
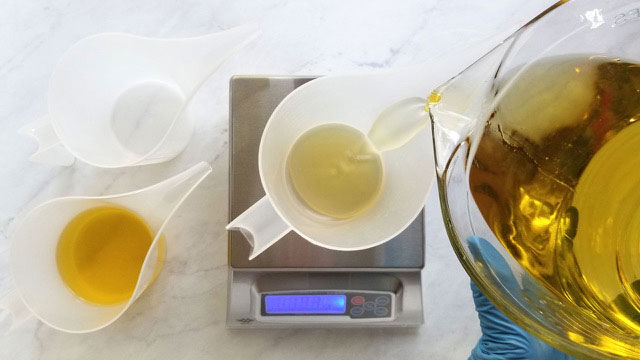
Next, divide the oils into 3 pitchers using the weight you just calculated. Clean mixing bowl for later.
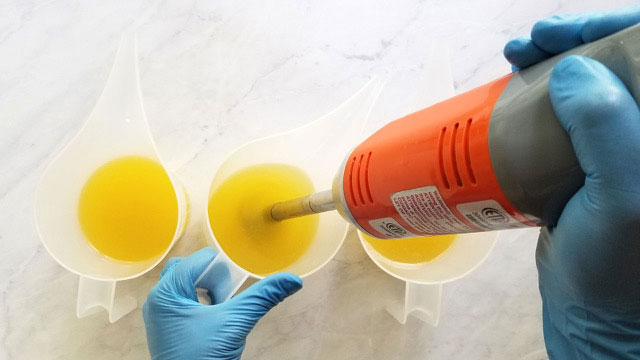
Add ½ tsp White Kaolin Clay and 19 g of Bronze Goddess*Estee Lauder* Type Fragrance Oil to each pitcher. Stick blend each pitcher until the clay is completely incorporated.
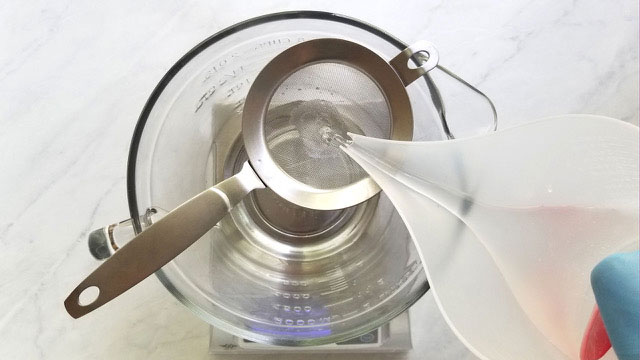
Add Sodium Lactate to cooled lye solution. Next, set the clean mixing bowl on the scale and zero the scale. Strain lye solution into mixing bowl. Remove strainer and note weight. Divide this weight by 3. Note weight. Example: 294 g / 3 = 98 g
Next, use the amount calculated above to divide the lye water into 3 containers.
Step 5 - Make and Top First Layer
If you want to gel your soap, which is recommended, now is a good time to turn on your heating pad (high temperature). If you are not familiar with the gel stage, it happens when heat builds up in your poured batter. It usually starts from the center and works its way out to the edges. It sometimes only partially goes through this stage causing an oval ring to be revealed when the soap is cut. There is nothing wrong with the soap, aesthetically it is just not as pleasing. To avoid partial gel, we usually go ahead and force it through the gel stage.
When the temperatures of the lye solution and the oil solution are within 85°- 95° F, pour one of the lye solutions into one of the oil solutions. Pulse a few times with the stick blender until light trace is reached.
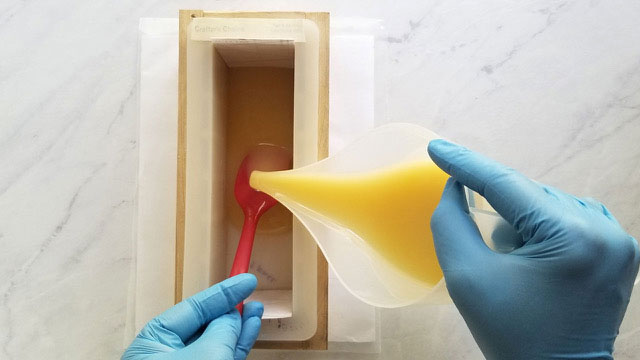
Stir by hand and pour while the batter is still thick, but still easily pourable. Pour over a spatula to avoid adding air bubbles to your batter.
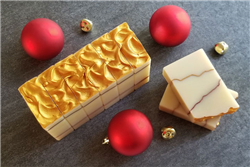
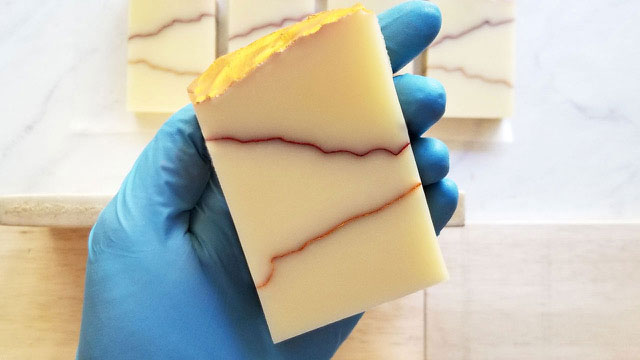
Prop or hold up one long side of the mold so that the line will be slanted. (See photo of completed soap.) This batter doesn’t take long to set up, so we just held it up on the left side until the batter has set enough to lay the mold flat. Use a spatula to sculpt lines on the surface to make an interesting vein for the mica line.
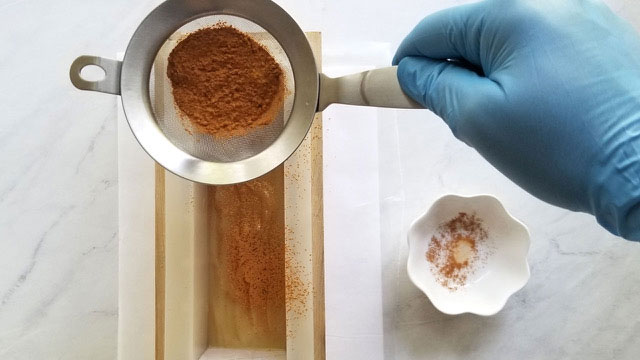
Sift mica on top, and blow off any excess with a bulb syringe. (Use a dust mask when sifting and blowing to avoid breathing in any particles.) Save remaining gold mica for step 9. Cover soap until ready to pour the next layer.
Step 6 - Make and Second Layer
Repeat step 5, but this time, prop up the right side of the mold and use Fiery Copperhead Mica to top the second layer.
Step 7 - Pour the Batter
Repeat step 5 by propping up the left side, but do not sift mica on soap top. (The pretty top will be finished before cutting.)
Next, test soap top and see if it is ready to texture by using a spoon to see if peaks hold their shape. If they hold their shape, have fun texturing.
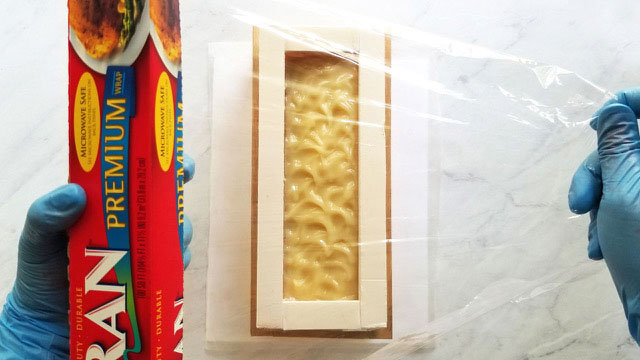
To avoid messing up your pretty soap top, make a corrugated cardboard or foam board frame to elevate the cover. (This can be done in advance.)
Step 8 - Put Through Gel*
Next, set your mold on top of the heating pad. Then, cover it with plexiglass/cardboard and then cover and seal with plastic wrap. Next, insulate with blankets/towels. Set your timer for 30 minutes. When the timer rings, slide your hand up under the towels and feel the air. If the air is warm, turn off the heating pad. If it’s not warm, keep repeating in 30-minute increments until the air under the towels feels warm, and then turn off the heating pad. At this point, make sure the mold is snug and keep it covered for at least 48 hours. (The sooner the soap is exposed to air, the more likely it is to develop soda ash (a white film on the surface of soap). Ambient temperature matters as well. If your home is warm, you probably won’t need the heating pad.
*You don’t have to put your soap through gel; you will get soap no matter if it goes through gel or not. This soap is made with a lower percentage of water to prevent glycerin rivers. With less water, soap goes through gel phase faster, often causing partial gel. That’s why it often needs to be forced through gel. Other benefits of forcing soap through gel are that it releases from the mold easier, it is harder, it cures faster & lasts longer, the colors are often more brilliant, and it avoids partial gel.
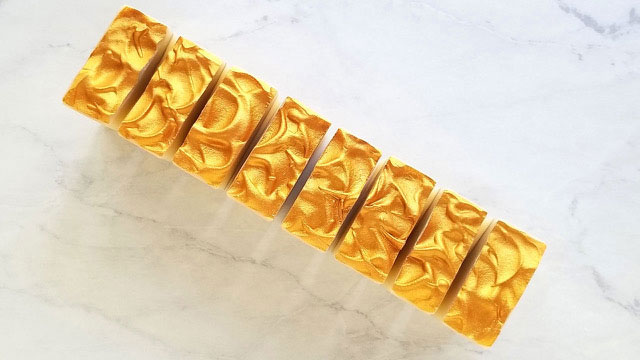
Step 9 - Make Gold Top
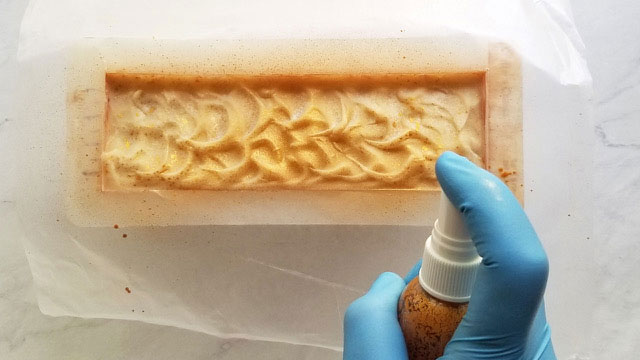
After 48 hours have passed, make a mask by pressing the outline of where the soap meets the edge of the mold in the center of a sheet of wax paper. Cut out the rectangular piece and discard it.
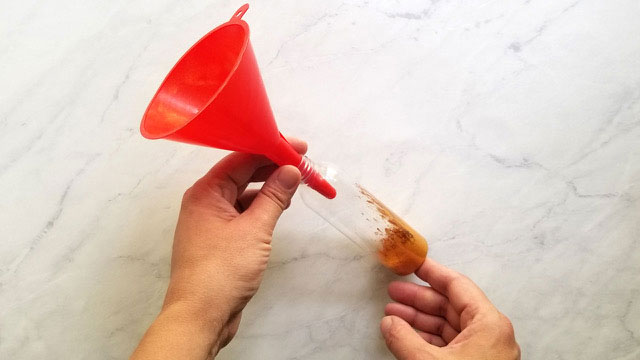
Next, let’s prepare the mica spray. Add 2 tsp Gold Rush Mica to the spray bottle. Then, add 4 tsp Isopropyl Alcohol to the bottle. Add sprayer lid and shake. Make sure all of the mica is dispersed well. Spray on a piece of scrap paper or cardboard until the mist is working properly.
Trim any excess soap that you not wish to remain on your soap top, such as any soap that splashed up on the sides. Set your mask over the mold and spray the soap top evenly.
Important Tip
When you are finished spraying, take sprayer lid off of the bottle and spray water through sprayer until no gold remains. Next, pull the tip off of the sprayer and rinse well. Replace tip and spray water through it again. Finally, add the lid back to the bottle of mica spray and next time you use it, spray a few sprays on a paper towel to get the water out and get the mica spray flowing properly. Repeat the cleaning process every time the spray is used or the tip will clog.
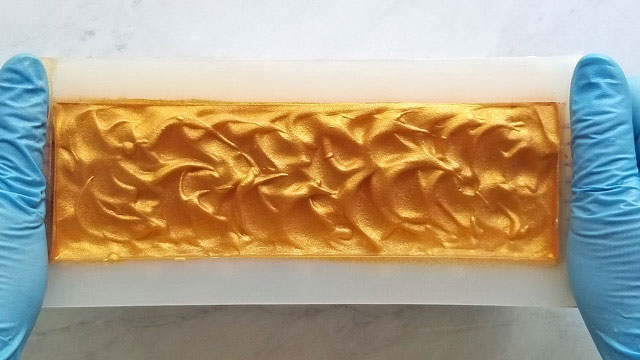
Discard mask and the gorgeous soap top is revealed! The alcohol will evaporate leaving a thin film of mica. When your soap is dry, carefully remove it form the mold.
Plane off the sides and ends of your soap if desired. Lay your soap loaf on its side, mark, and cut it into 8 pieces. (Laying the soap on its side will avoid causing drag marks from the mica lines.)
Bevel edges if desired.
Finally, allow your soap to cure for 4-6 weeks in a well-ventilated area and Enjoy!